I've always wanted to do Crayon art. So I tried it with my friend. It was really easy, pretty cheap, but it didn't come out as good as I thought, I think I actually tried too hard.
For this craft, you will need crayons, a board/thick posterboard, or something to put the crayons on, glue or some adhesive (I used modge podge) and a blow dryer. How every many crayons you want to use depends on how big you want your craft. I cut a thick posterboard in half and put my crayons together (touching) and then melted, but some people do designs or space them out! Some people cut the crayons in half.
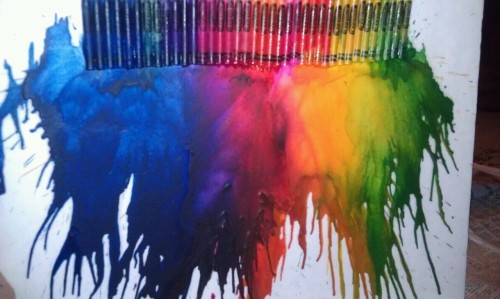
Here is my Crayon art:
Here is my friends:

The difference between ours is that she used the Dollar Store brand crayons (which I think looks cooler) and I used Crayola. Hers melted and splattered A LOT more than mine. Mine was more of a dripping looking effect at first but I kept melting the crayons and it actually just pushed all the colors together. Also, if you space them out, you get more of a drip effect.
Instructions:
- Glue or modge podge, (whatever you're using) your crayons onto the board in your design or in a line, or whatever you're doing.
- Start melting your crayons. Use the blow dryer on high heat. Try to spread the heat out, don't just stay in one place with the heat. The more you heat it up, the more it will all come together. The less heat you use, the more of a drip effect you will get.
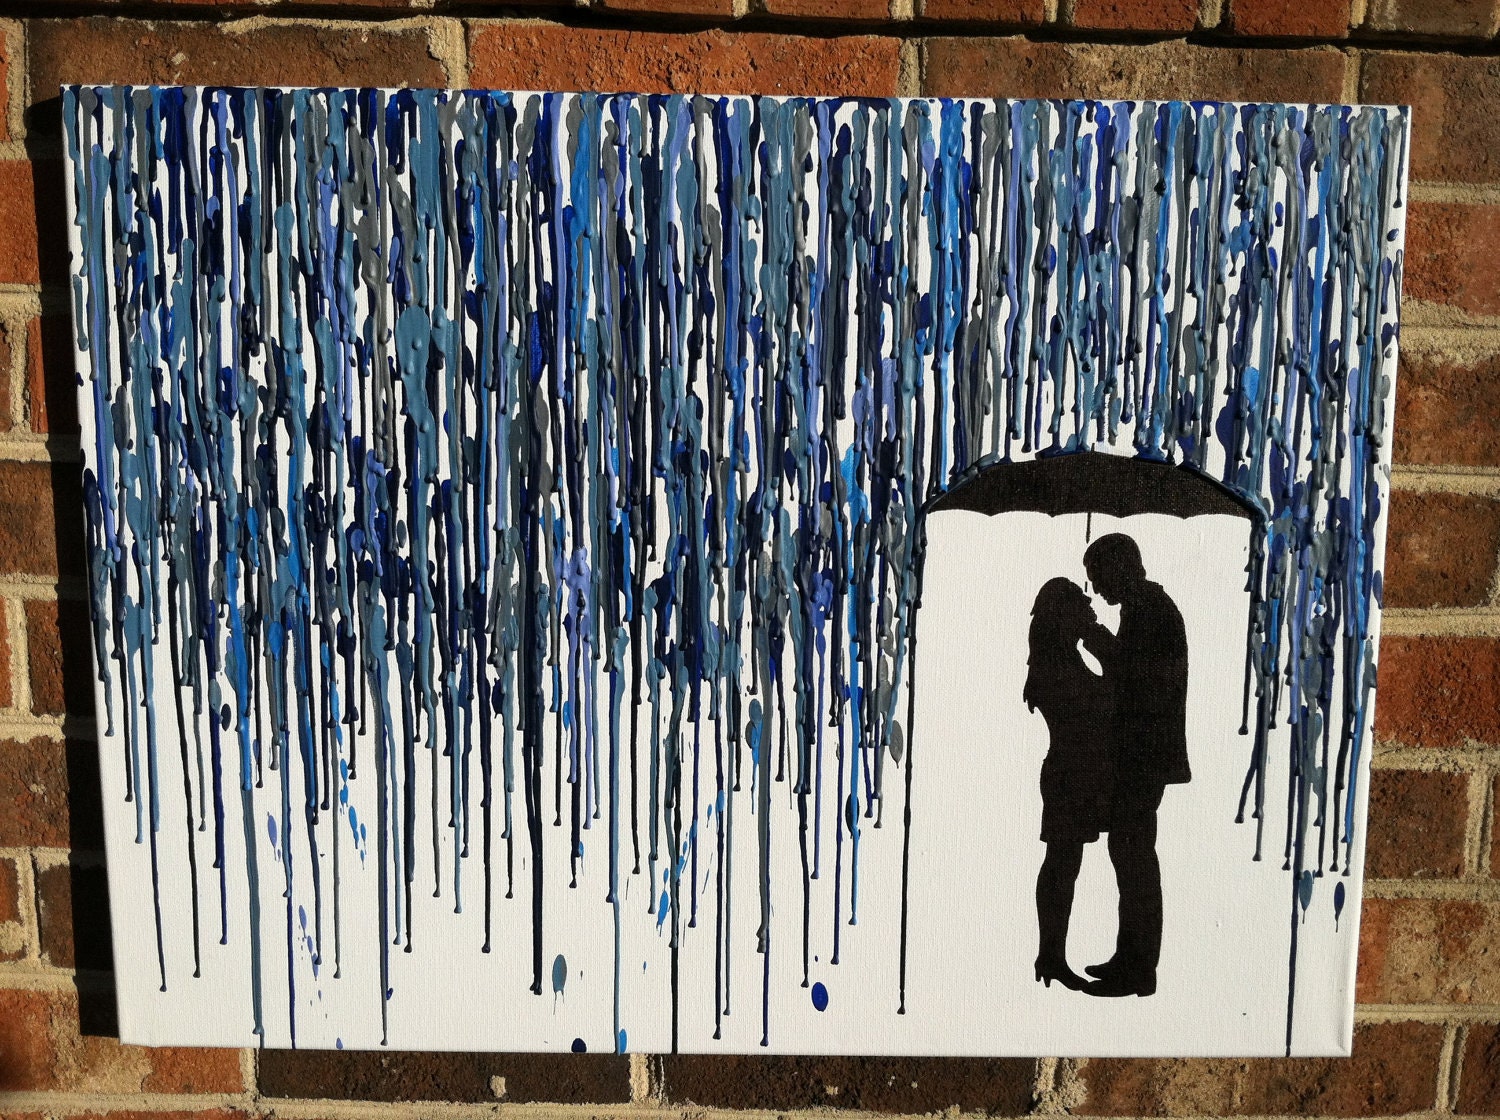
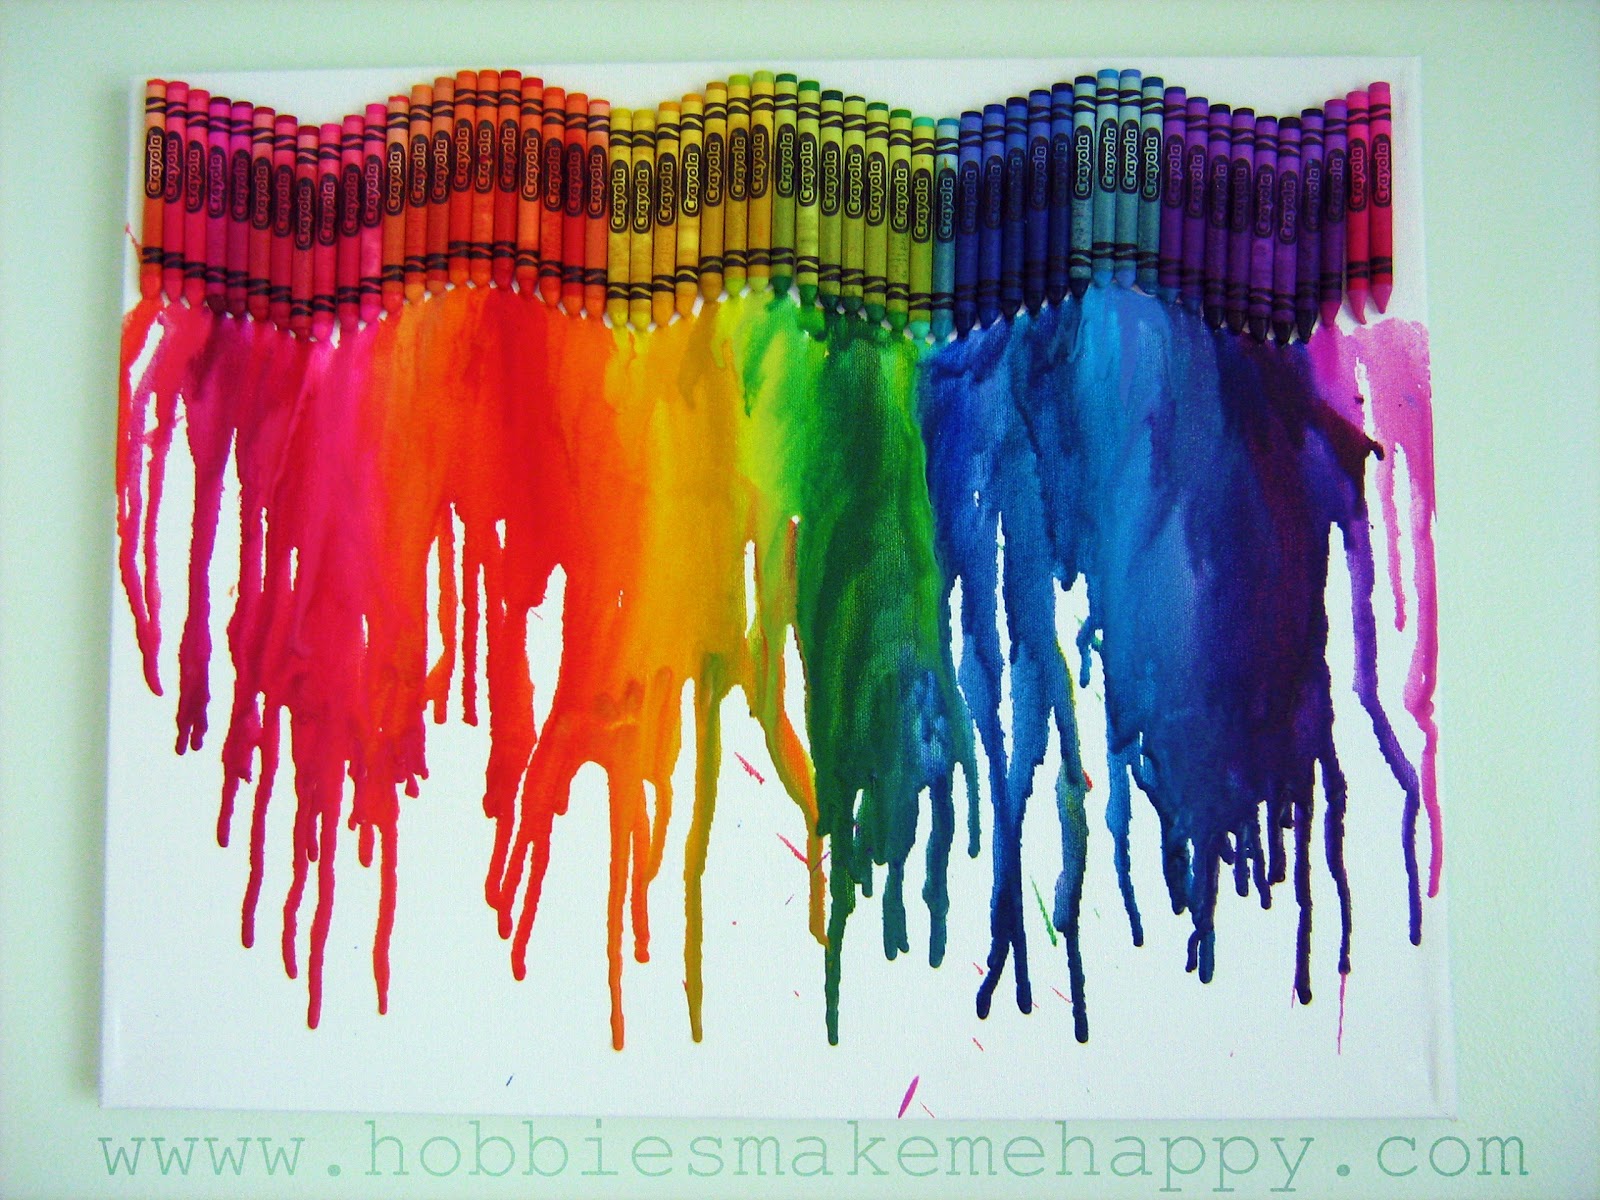
Here are some pictures of pretty cool ones I found online:


God Bless, XOXO, Caitlyn.
No comments:
Post a Comment
Thanks so much for looking and commenting on our blog! We hope you all enjoy reading it!